
I am thrilled to finally reveal our completed hall bathroom! With the holidays, moving in, and many late nights completing this room, it has taken some time to finish and put this post together, but I am truly over-the-moon excited! I really couldn't be happier with how it has turned out!
THE BEFORE
The original bathroom was, to say the least, dated. There was just no pizazz. One of the major layout issues was the oversized soaking tub that was installed and the dividing wall that jutted out too far and enclosed the space. If you look it almost covered the window, which is just odd. It also only had one sink, and having two makes a lot more sense when it is the shared bathroom for the two bedrooms downstairs. It actually reminds me of the 80s bathrooms I grew up in, so in that sense there is some sentimentality (I guess?)...

But not enough to keep it....so we ripped it out entirely!!

THE AFTER
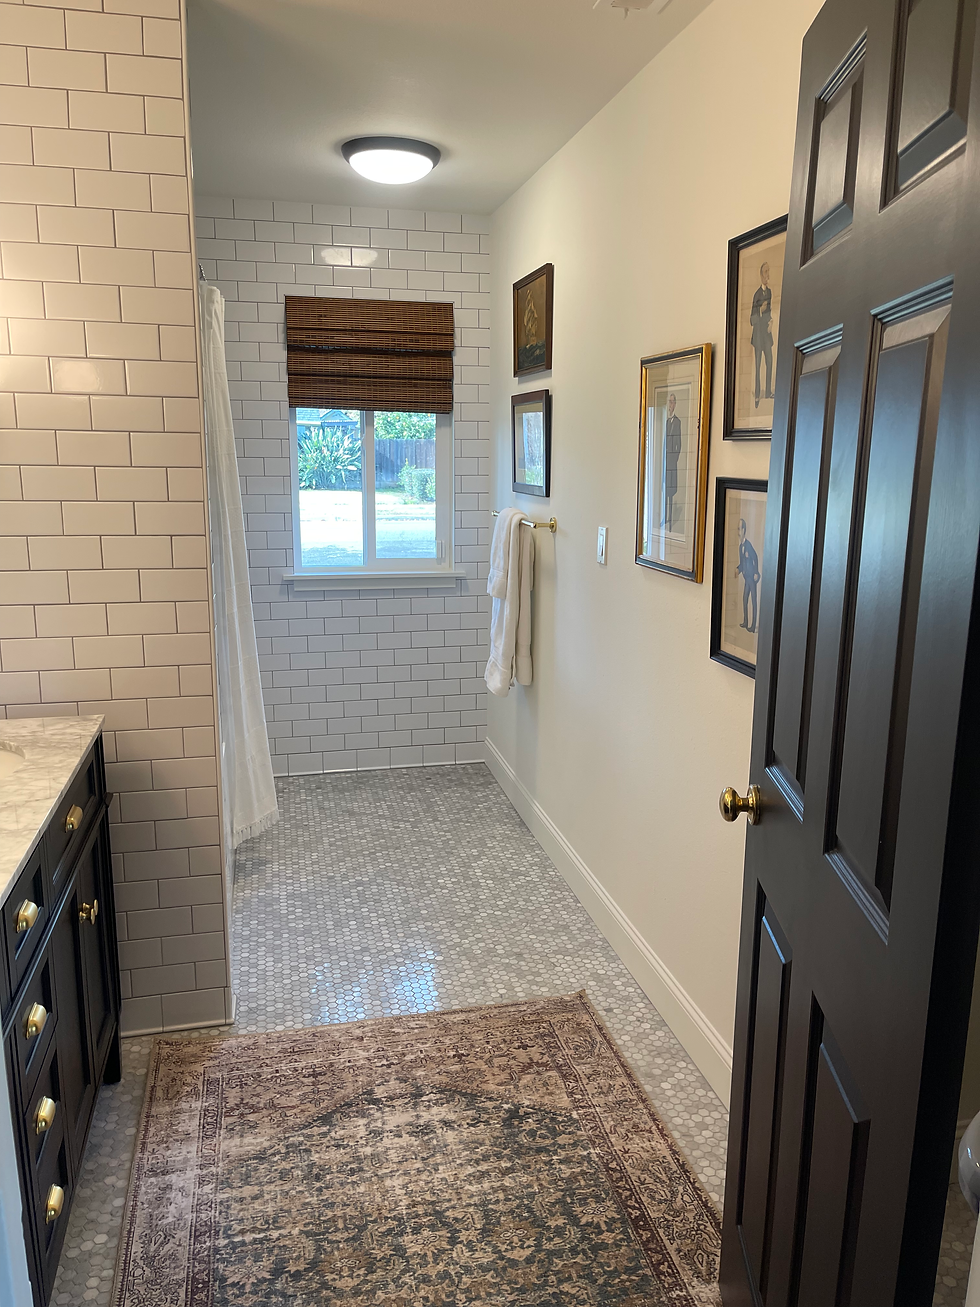
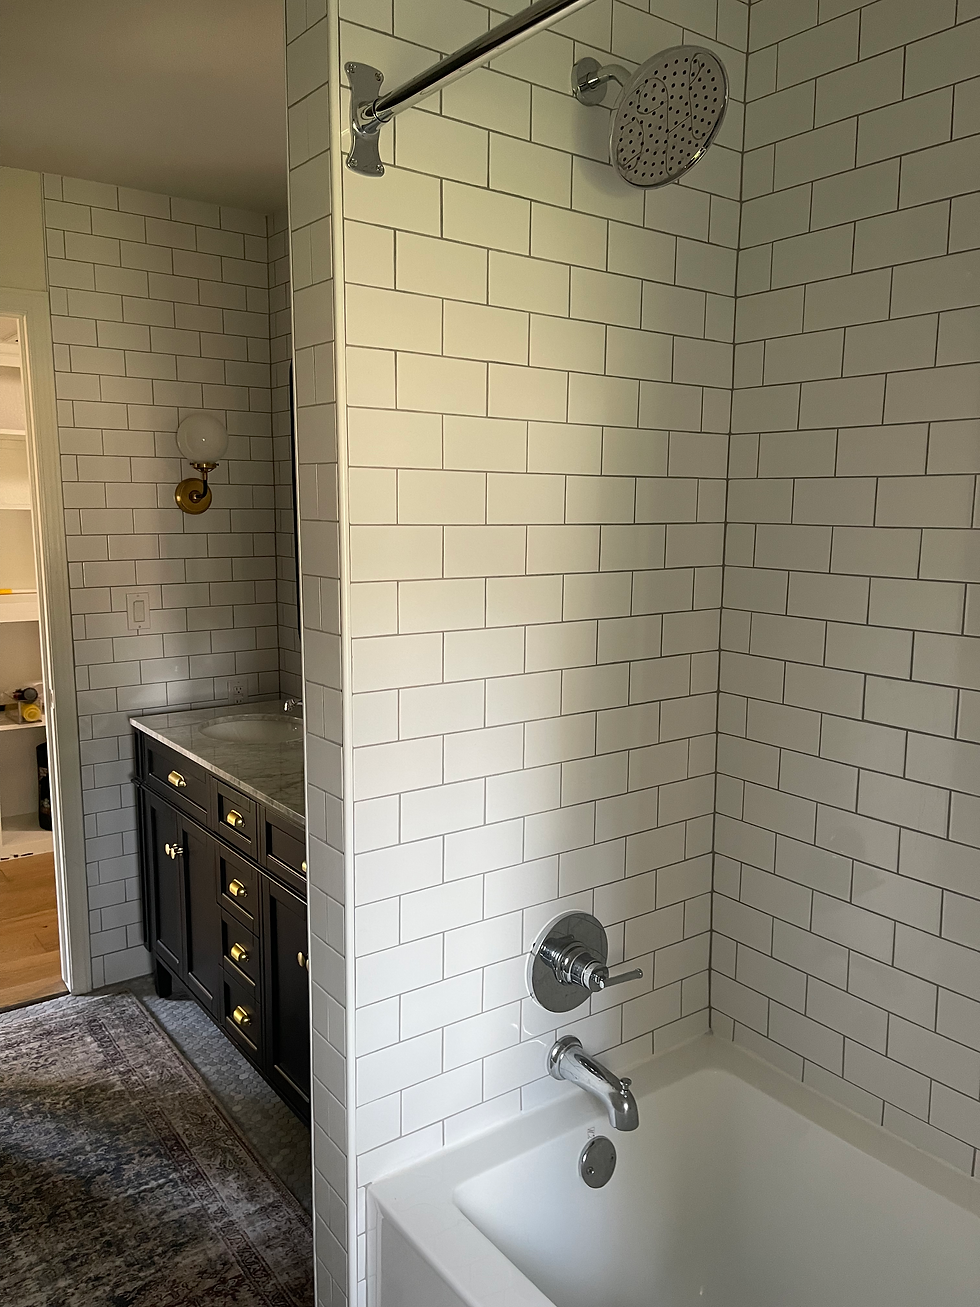
I had a clear vision for this bathroom from the beginning, but there were still things that had to be ironed out like any other project. I wanted it to look timeless, but also harken back to the art deco era with a bistro twist. The bistro lighting was chosen from the beginning and was my inspiration for the entire bathroom. They really are the showstoppers in the room. I knew I wanted the subway tile to go all the way from the floor to the ceiling in the vanity nook, but it was Andy's idea to take the tile past the tub enclosure and to the end of the wall with the window. That was such a great idea and now when you walk through the door to the bathroom you look straight ahead out the window and see beautiful tiled wall all around!

I sourced a very affordable vanity that has a beautiful marble top and the traditional look I was after. A trick I use to elevate any pre-made vanity is to change out the hardware and then --voila it becomes your own custom piece!
VANITY BEFORE

VANITY AFTER
The hardware is from Rejuvenation (bin pulls and knobs) and I chose an antique brass finish to complement the brass elements of the light fixtures.

I mixed finishes including the polished chrome bathroom faucets and shower fixtures. I think it adds another layer of color and interest and keeps the colors from being one dimensional. I have to say I am very impressed by the sink faucets. They were very affordable and VERY well made. I highly recommend. Check them out on my Hall Bathroom Mood Board Blog . The source of the vanity is listed in the blog as well, which was another great purchase for the price. The vanity does have some black paint chip issues we need to address, but they can easily be touched up and is a minor issue with the vanity.

Styling the room is always my favorite part. I get excited to put my finishing touches on a room, and with these additions the room feels warm and inviting. I added the Vanity Fair Spy prints I mentioned in the mood board blog and they fit in perfectly! I also added a couple of vintage ship prints over the towel bar.

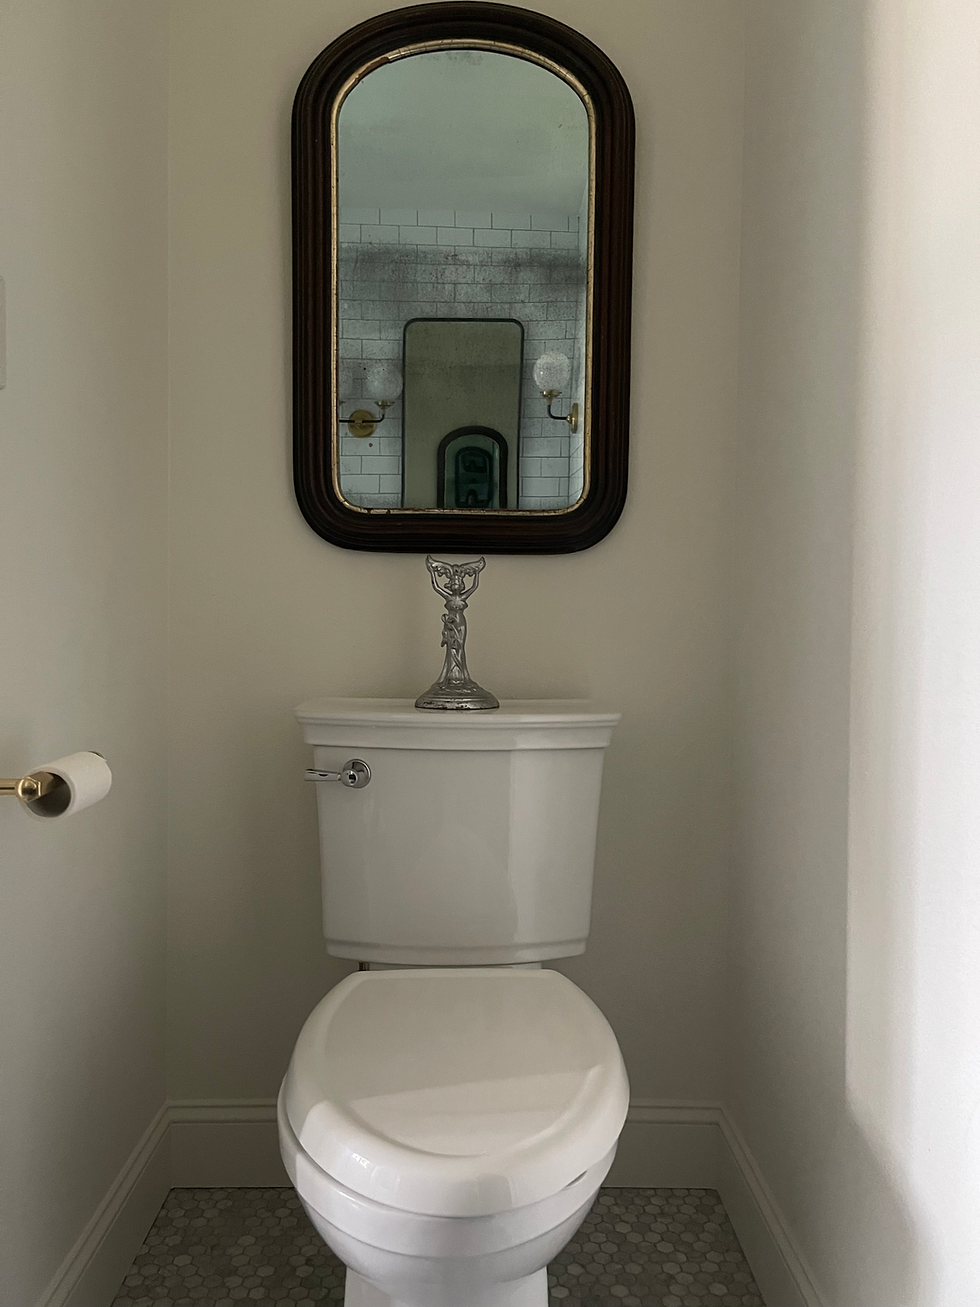
I have been waiting to find the perfect spot since I purchased this vintage wood arched mirror, and it now has a home over the toilet! So fun and I really like this picture below, so cool seeing the mirror and lights in the aged mirror.
Finally, I added a vintage style rug that was only $50 and is from the Amber Lewis x Loloi collection.

The room is now complete and what an accomplishment! I had the vision, but Andy painstakingly put up tile by tile and did all of the hard work in this bathroom. Without him I am lost, but together we are a great team!

We have TONS of other projects to tackle this year and it will make for an interesting 2023! We will continue to document them and share them and hopefully inspire you to tackle your own home renovation projects!
Happy New Year!
Brianna and Andy

Comments